♥My Blinkies♥


♥I CT For♥

♥Forums♥


♥Blogs I Stalk♥


♥Fav Tube Sites♥


♥Fav Stores♥


Friday, 4 April 2014
~Supplies Needed~
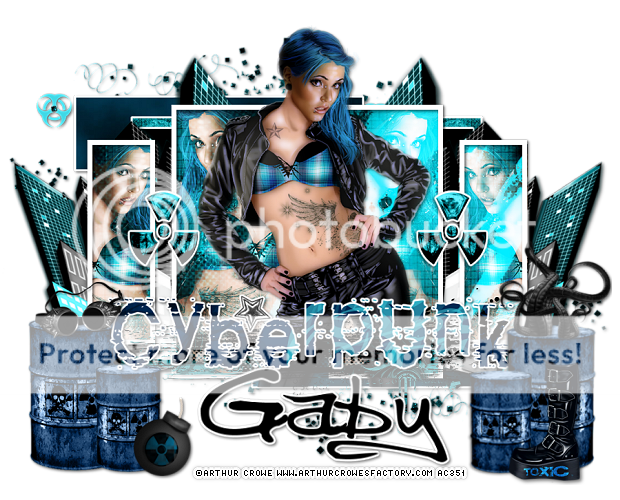
Tube ~ I'm using the awesome artwork of Arthur Crowe which you need a licence to use & can get here ~ Arthur Crowe's Factory
Scrapkit ~ CyberPunk PTU by Disturbed Scraps here ~ Scraps N Company
Template ~ Template520 by Minxy here ~ Divine Intentionz
Filters ~ Xero Radiance & Porcelain
Fonts ~ Oh La La, Angryblue Controlled
~Lets Begin~
Open Temp520 & delete credit layer, resize canvas 900x700
Raster 10 ~ Select all,float, defloat, paste paper9 as new layer, invert delete, invert modify expand 3, new layer & flood fill white, drag below, select none. Do the same with Copy of Raster 10. Delete orig layers
Raster 8 ~ Select all, float, defloat & paste paper7 as new layer, invert delete, invert modify expand 3, new layer & flood fill white, drag below, select none. Do the same with Copy of Raster 8. Delete orig layers
Raster 2 ~ Adjust-Brightness & Contrast - Brightness -255 Contrast 0, fat white gradient glow
Raster 7 ~ Select all, float, defloat, paste paper11 as new layer, invert delete, invert modify expand 3, new layer &flood fill white, drag below, select none, delete orig layer
Merge the 4 front Rect down on same layer, select all, float, defloat paste paper1 as new layer, resize 80%, invert delete, paste Tube as new layer in first Rect, resize to suit, keep pasting tube till all 4 Rects are filled. Select none, leave first Tube & hide other 3 now delete any bits that are in any of the other Rects. Do the same with each tube, merge down, Xero Radiance - Beauty 150. Blend Mode - Screen. Delete orig layer
Add drop shadow to layers
Paste Elem104 as new layer, resize 80%, fat white gradient glow & drop shadow of choice
Paste Elem85 as new layer, drag below paper layer on 4 Rects, move to right & resize to suit, duplicate mirror, merge down, add same Radiance as before & drop shadow
Paste Elem73 below Cyberpunk wordart & add drop shadow
Paste Elem83 as new layer, resize 50% 80% & place on top of Star on left, add fat white gradient glow & drop shadow, duplicate mirror, merge down. Delete star layers & white background
Paste Elem77 as new layer, drag to bottom, resize 80%, move to right & move down, duplicate flip mirror, merge down, add drop shadow
Paste Tube as new layer below Elem73 & wordart, Xero Porcelain & drop shadow
Paste Elem44 as new layer, resize to suit & move to left below wordart, duplicate & resize 70%, place next to orig & merge down, add drop shadow, duplicate mirror
Paste Elem8 as new layer, resize to suit & place next to Drums on left, add drop shadow
Paste Elem21 as new layer, resize to suit & place on top of large Drum on left & drop shadow
Paste Elem53 as new layer & place o top of large Drum on right, resize to suit
Paste Elem5 as new layer om right in fron of Drums, resize to suit & add drop shadow
Copy merged in to Anim Shop & resize then paste back in PSP & sharpen
Add name & © then save as PNG!
I hope you enjoyed my Tutorial ♥
Subscribe to:
Post Comments
(Atom)
0 comments:
Post a Comment