♥My Blinkies♥


♥I CT For♥

♥Forums♥


♥Blogs I Stalk♥


♥Fav Tube Sites♥


♥Fav Stores♥


Saturday, 29 March 2014
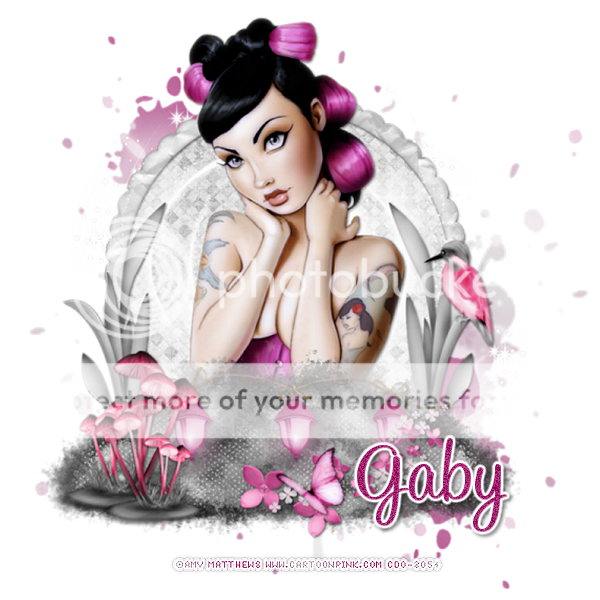
~Supplies Needed~
Tube ~ I'm using the awesome artwork of Amy Matthews which you need a licence for & can get here ~ CDO
Scrapkit ~ Shades Of Cuteness PTU By Disturbed Scraps here ~ Scraps N Company
Filters ~ Xero Radiance & Porcelain
Fonts ~ Oh La La, SweetheartScript
~Lets Begin~
New raster layer 800x800
Paste Elem51 as new layer, duplicate mirror, merge down
Paste Elem50 as new layer, resize to suit & place on left, duplicate mirror, resize 80% & place on left beside orig Elem
Paste Elem48 as new layer, resize to suit & drag to bottom & move to left, dupliate mirror, merge down
Open Elem99 Image Greyscale, paste as new layer & resize to suit, drag to bottom, paste paper004 as new layer, click inside Frame modify expand 4, invert, click onpaper layer & delete, select none
Paste tube as new layer resize if needed, drag just above Frame, Xero Porcelain
Paste Elem37 as new layer, resize 70% twice & place on right
Paste Elem31 as new layer, resize to suit & place on Flowers, Xero Porcelain
Paste Elem63 as new layer, resze 70% twice & place on right side of canvas on top of Elem48
Paste Elem94 as new layer, resize 80% & place along top of Elem51, Xero Porcelain
Make a Pink & Grey gradient with colours from your tag, Angel 45, Repeats 3. Now open Elem91 & minimize, new layer, drag to bottom & flood fill with gradient, new mask layer & apply Elem91, merge group, resize & place where suits you
Paste Elem108 as new layer & resize to suit & place on top Of the mask layer you just did. Remember if you duplicated & mirrored etc do the same with Elem98 & merge down once happy
Copy merged in to Anim Shop & resize 600 or whatever suits you. Paste back in PSP & sharpen
Add name & © then save as PNG!
I hope you enjoyed my Tutorial ♥
Subscribe to:
Post Comments
(Atom)
0 comments:
Post a Comment