♥My Blinkies♥


♥I CT For♥

♥Forums♥


♥Blogs I Stalk♥


♥Fav Tube Sites♥


♥Fav Stores♥


Monday, 24 March 2014
~Supplies Needed~
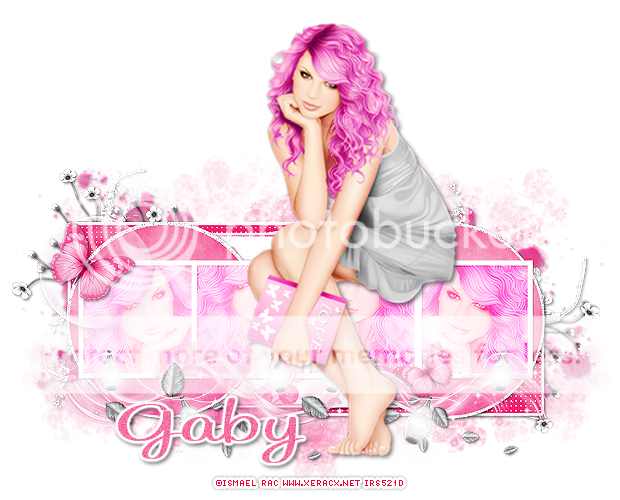
Tube ~ Im using the awesome artwork of Ismael Rac, which you need a licence for & can get here ~ XERACX
Scrapkit ~ Pink Dreamer PTU by Disturbed Scraps here ~ Scraps N Company
Template ~ Temp391 by Minxy here ~ Divine Intentionz
Filters ~ Xero Radiance, Noise
Fonts ~ Oh La La, SweetheartScript
~Lets Begin~
Open Temp391 & delete credit, wordart & star layers. Resize canvas 900x600
Thin Black Rect ~ Select all, float, defloat, new layer & flood fill #f12272, click back on Black layer & modify expand 3 & flood fill white, select none, delete orig layer, add some noise. Back on pink layer go to Textured Effects Weave - 2 5 2 & both boxes white. Do the same with Thin Black Rect 2.
Rotated Rect ~ Select all, float, defloat & paste paper 10 as new layer, resize to suit, invert delete, invert modify expand 3, new layer & flood fill white, select none & delete orig layer
Black Rect ~ Select all, float, defloat, paste paper 12 as new layer, resize to suit, invert delete, select none & delete orig layer
Circle ~ Select all, float, defloat, paste paper 7 as new layer & resize to suit, invert delete, select none, delete orig layer. Do the same with opposite Circle
Frame Back ~ Select all, float, defloat & paste paper 3 as new layer, resize to suit. Click inside each frame & paste Tube to suit in each part of Frame, invert delete on tube layers, select none & delete orig layer. Xero Radiance on tube to suit, Blend Mode overlay
Paste Elem84 as new layer, resize to sit & place along bottom of Frame, duplicate & mirror, merge down
Paste Elem53 as new ayer at bottom, resize to suit, duplicate & move over to left, merge down
Paste Elem27 as new layer, resize to suit & place on left top corner of Frame, duplcate & resize about 80%, mirror & place where you like
Paste Elem90 as new layer along bottom behind Leaves
Paste Elem89 as new layer & place on left, drag to bottom of palette, duplicate mirror flip, merge down
Paste Elem44 as new layer, move to left side & drag to bottom just above Elem89, duplicate mirror flip, merge down
Paste Elem66 as new layer, resize to suit & place where you like, dplicate then resize 80% & place around tag, duplicate & resize again & place somewhere else on tag
Add drop shadow to layers
Copy merged in to Anm Shop & resize 620, paste back in PSP & sharpen
Make sure canvas is 620x500
Paste Tube as new layer, resize to suit, Xero Radiance & drop shadow of choice
Paste Elem88 as new layer, resize 70%, move along to left, duplicate mirror, merge down
Add © & name then save as PNG!
I hope you enjoyed my Tutorial ♥
Subscribe to:
Post Comments
(Atom)
0 comments:
Post a Comment